
This is a great DIY project for a beginner to build confidence and comfort-ability with handling tools.

Supplies Used:
Hart 20V impact and drill driver
wood glue (optional)
measuring tape
Click here to learn how I build this board and batten wall
Measure
I first measured how far apart I wanted each wood peg. For reference mine are 11inehes apart. I marked my space with a pencil and measured from that space where the center was on the board.
.jpeg)
Drill your Holes
After I installed the bit size that I needed for my wood pegs I installed it into my impact driver and drilled in the space that I marked.
I drilled straight in as oppose to an angle. My husband spotted me and helped me with the first one because I was so nervous to mess it up! I went all the way through and went back and forth with my driver a few times to make the hole a bit wider.
Sidenote: this leaves a mess so make sure you move anything underneath you out of the way!
Install Pegs
Take your pegs and using your rubber mallet tap it into each hole. You can add glue if you want before hand.
.jpeg)
Sidenote: If you are going to stain or paint your pegs you can do this step before installing into the wall. I stained mine for a bit of a darker color and then installed.
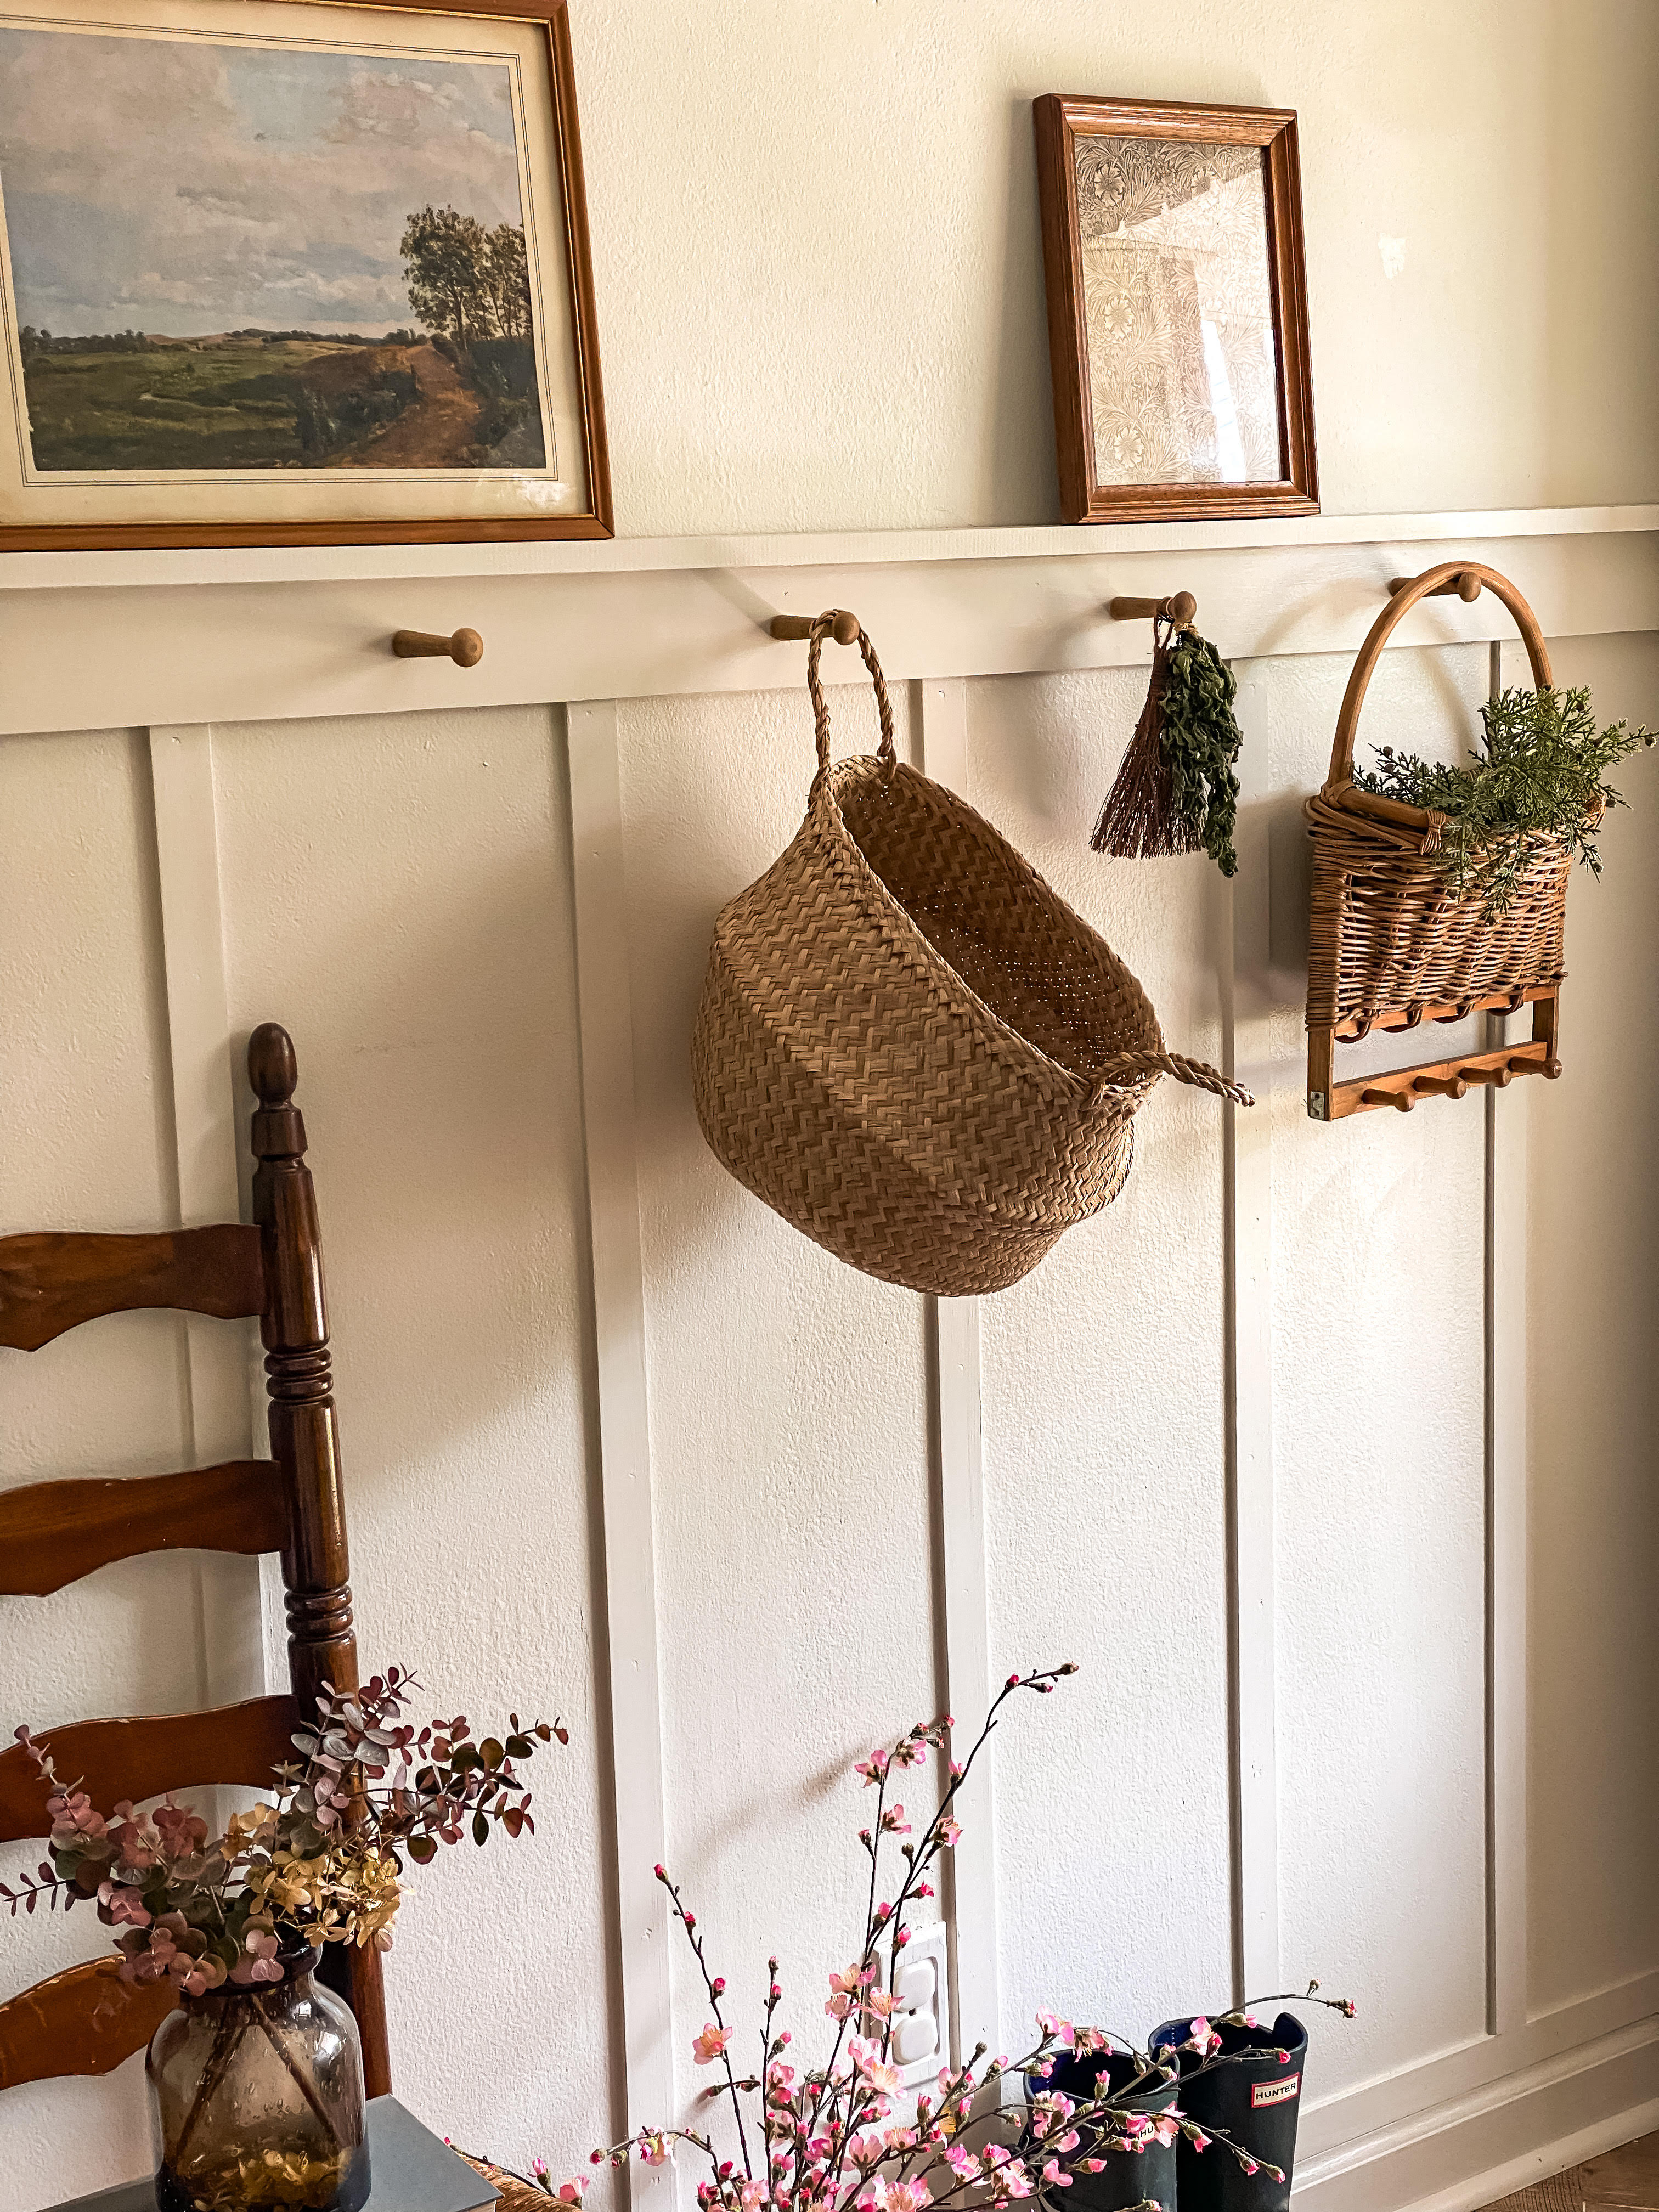
Once they are firmly into the wall you are all done and ready to hang up and decorate your space!


No comments
Post a Comment